NAME
cve: exploiting the vulnerability in ubuntu 20.04
The Introduction
When this exploit first came, it freaked out an entire group of linux people and cybersecurity people. Especially - Low Level. Cause, it was just 732 bytes python code with zero external dependencies. Meaning, it can run in any program that has python installed, and virtually most of the linux kernels - versions starting from 4.14 to 7.0-rc. That is, this exploit is universal, and is a Local Previllege Escalation(LPE) - meaning - It grants root access to unprevilleged users when the vulnerability is exploited.
Clearance 1 : I have got no hints, but just a binary file which you can download from here.
There are several processes in making an exploit to work in a specific target machine. For example, we can take a VM (Virtual Machine), running Ubuntu 20.04.
NOTE : This exploit is purely for educational purposes only, and I will not be responsible for misuse of the code present here.
Identifying the Vulnerability
The first and foremost step in exploiting something, a VM, an OS or whatsoever, is by identifying the target, then identify or figure out what is vulnerable in a target machine. There can be multiple vulnerabilities in a system, or in some cases, only one vulnerability. The extent to which the vulnerability can be used to gain previlleges is also one thing to check with.
Consider this Scenario
- A person is running an outdated apache2 server. There are some modules in apache2, which allows RCE (Remote code execution), or even has path traversal / directory traversal endpoints, which allows the user in web to access contents of the filesystem of server in which the webpage is being served through.
- In this case, the attacker can either do a RCE, or just do a directory traversal to disclose invaluable server information. The attacker might choose which one has highest previlleges, based on his/her intent. RCE almost always gives the highest previllege, since it is a code execution.
Clearance 2 : There are several ways to identify vulnerabilities in a target system. An attacker should choose the most efficient and least noisy way to figure out the vulnerability. Below given are some of the ways to identify the vulnerability. Though the way I identified the vulnerability is pretty common.
How did I find it?
Just search the web. Be up to date with the latest security exploits, the 2026 is a year of massive linux exploits, sped up release of exploits and LPEs and CVEs because of the use of AI to figure out bugs in the code and build exploits. Mythos. So, the fact is that - I was already aware of the existence of the exploits and the details of those exploits, what the affect and the extent of damage caused by it. Those are called CVEs.
So, our target machine is Ubuntu 20.04, that is running in my University Labs. But hey wait, I am not exploiting it, I am doing it in my own VM. And this is how it looks like.
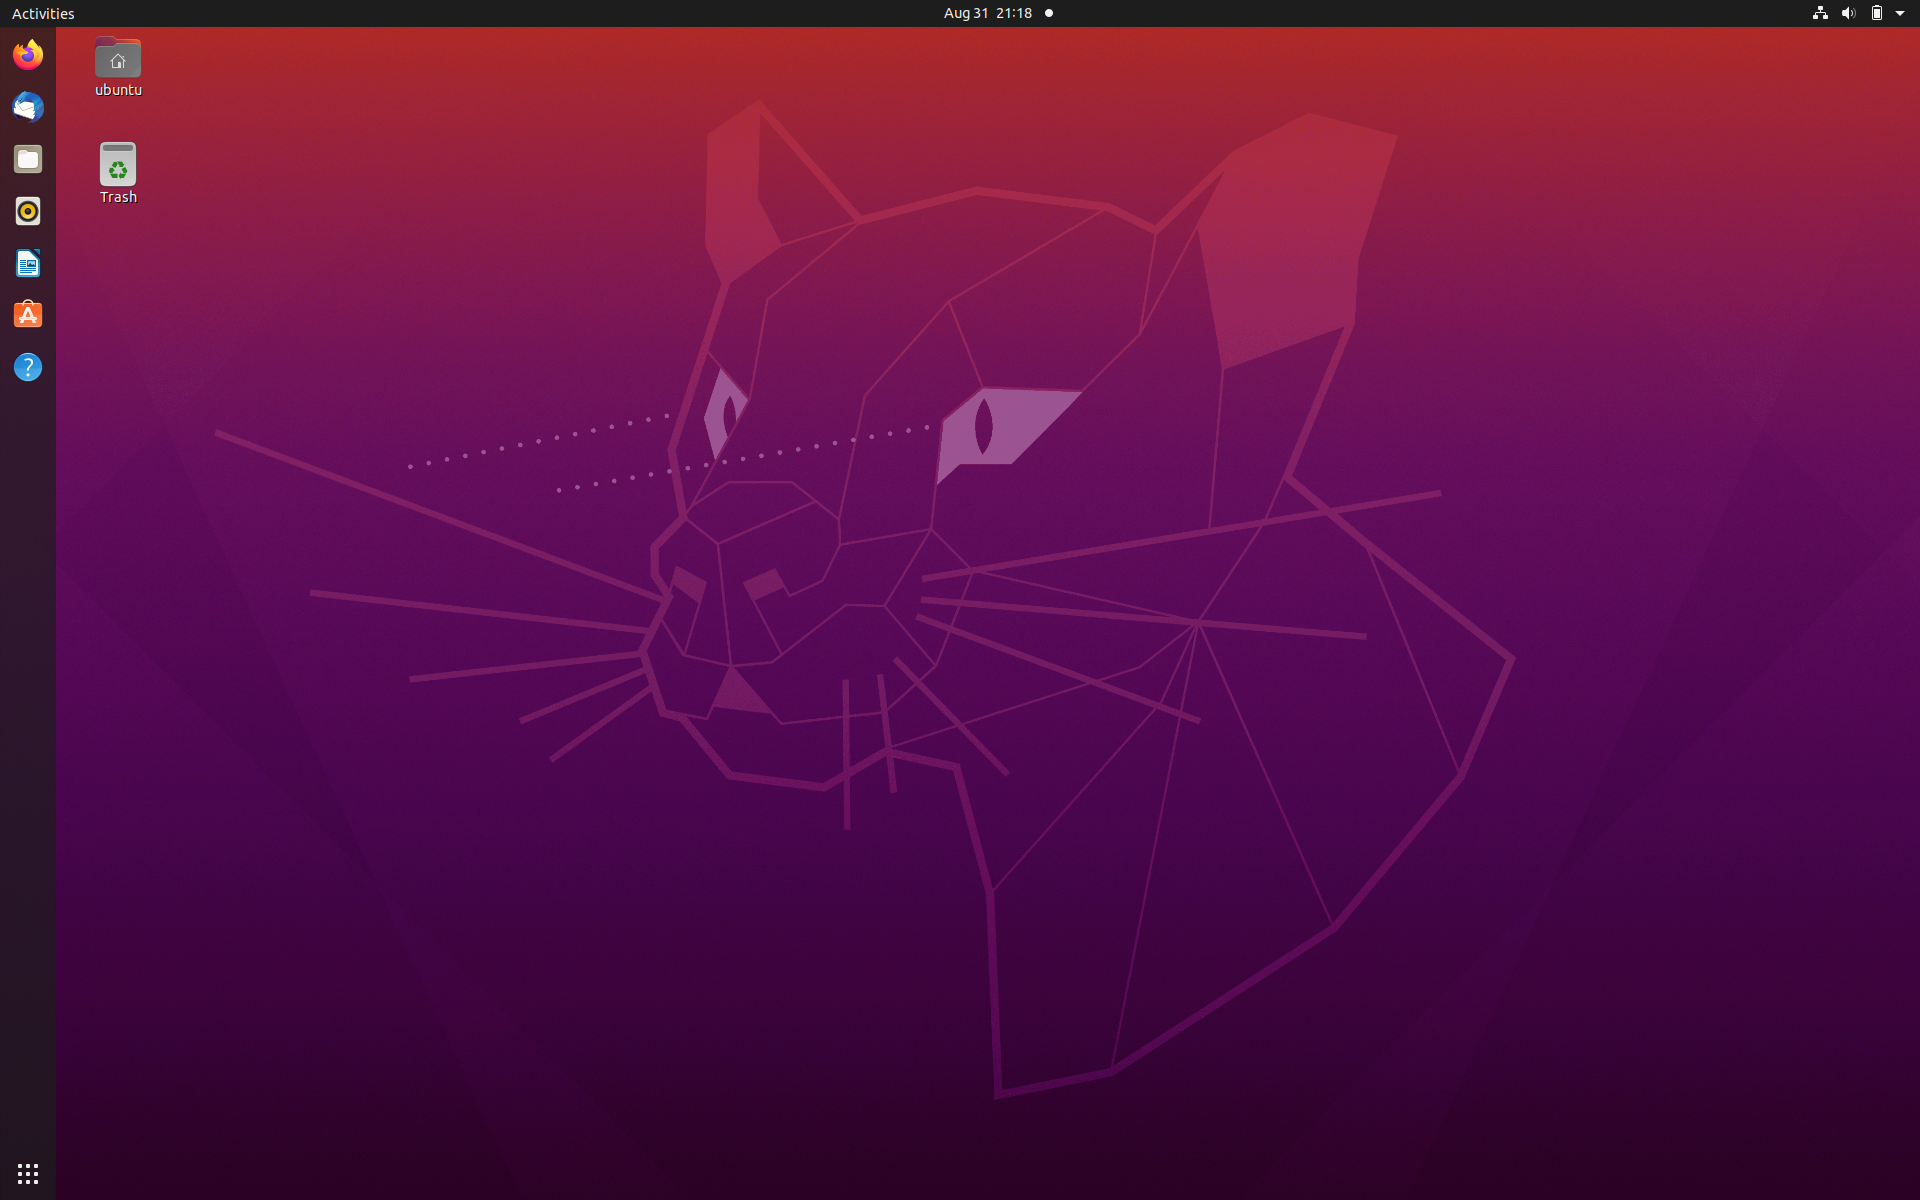
Find the kernel version
The uname -r command is used for finding the Linux Kernel Version (Release Version). If the version is smaller than 7.0, then there is a massive probability that the copy fail exploit works in the system. To know if I am using the most up to date Ubuntu version, I need to check the os-release. Unlike the uname -r, there is not specific command, so we have to cat it out from /etc/os-release.
# find the kernel version
uname -r

# find all details about kernel
uname -a

# find the ubuntu version
cat /etc/os-release | grep Ubuntu
Here are the exact outputs as in my victim VM, the screenshots of them, the uname and os-release.
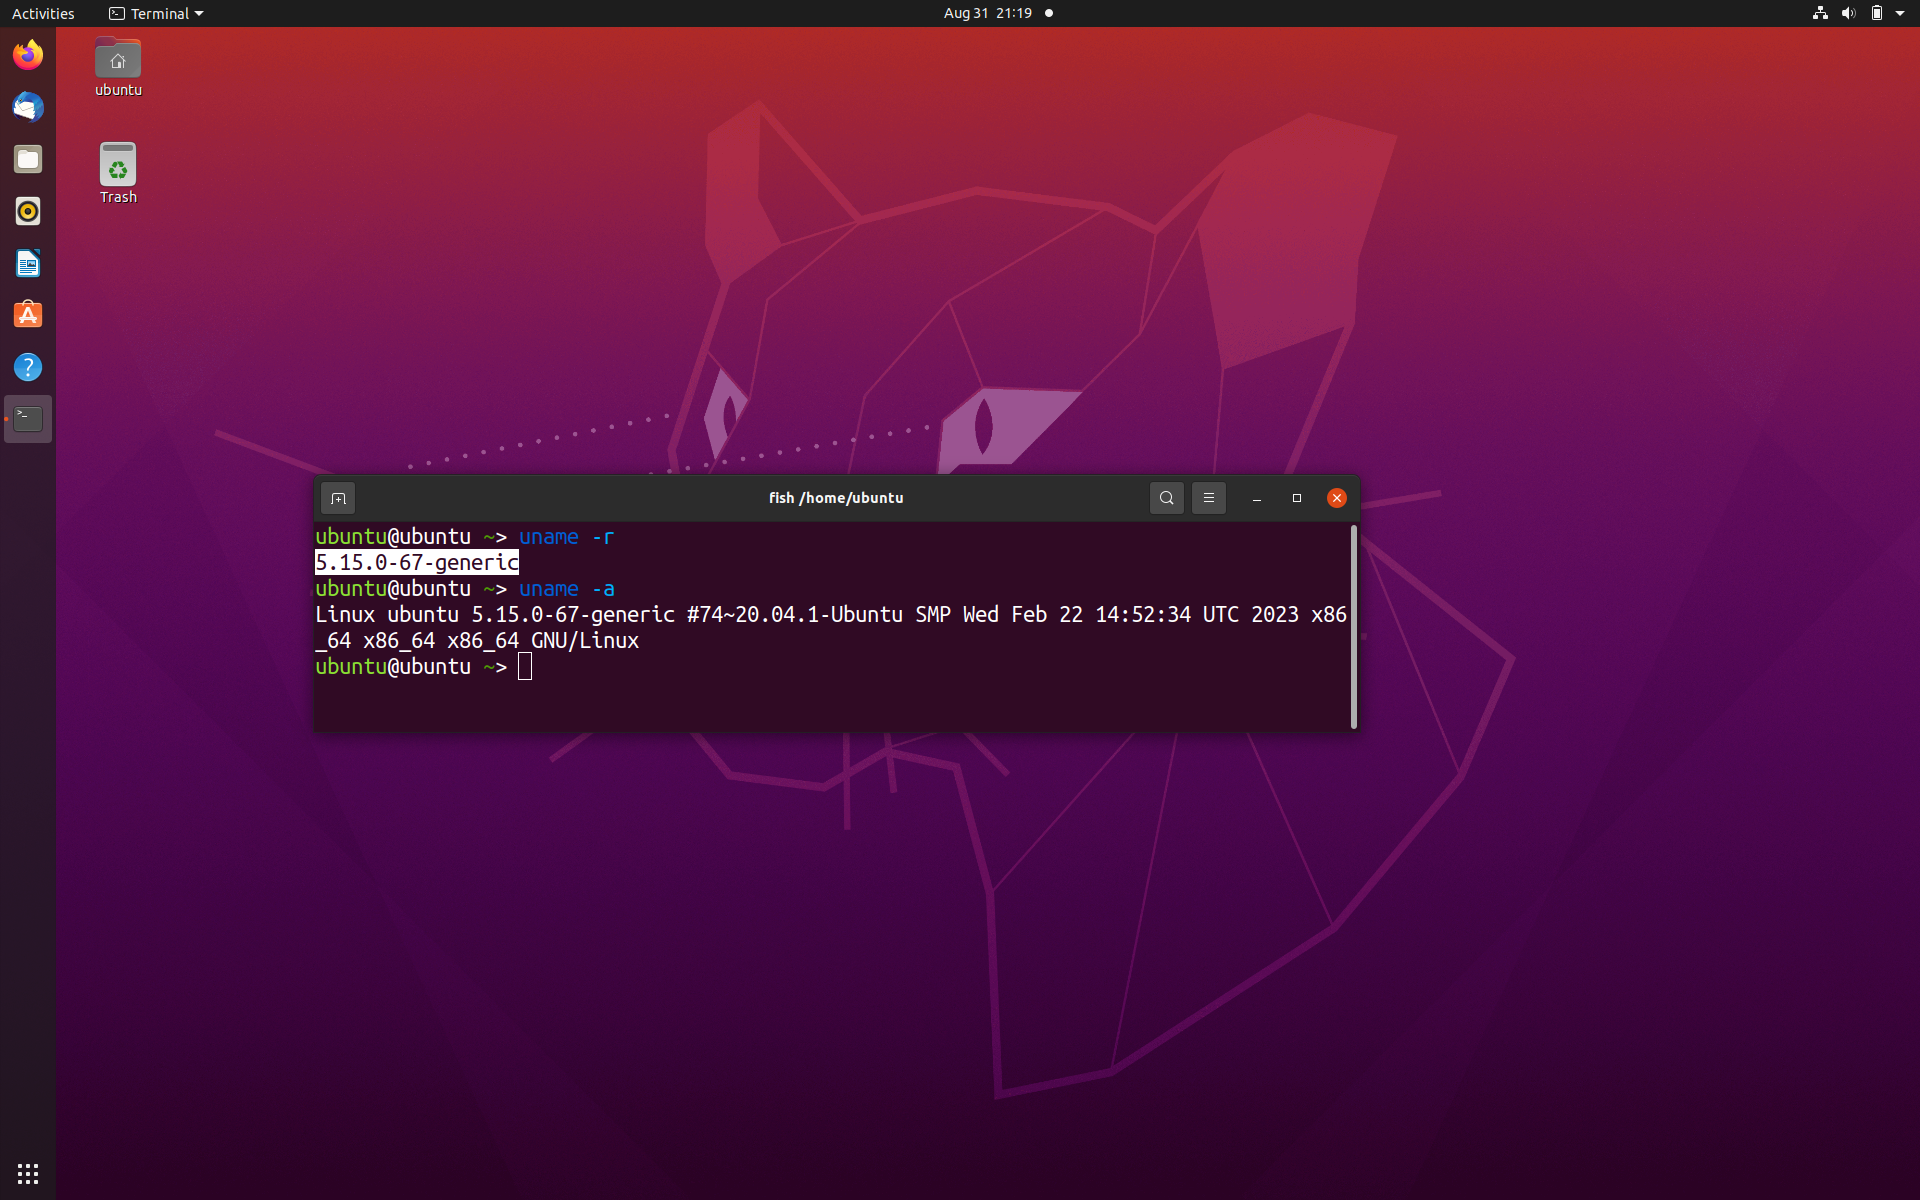
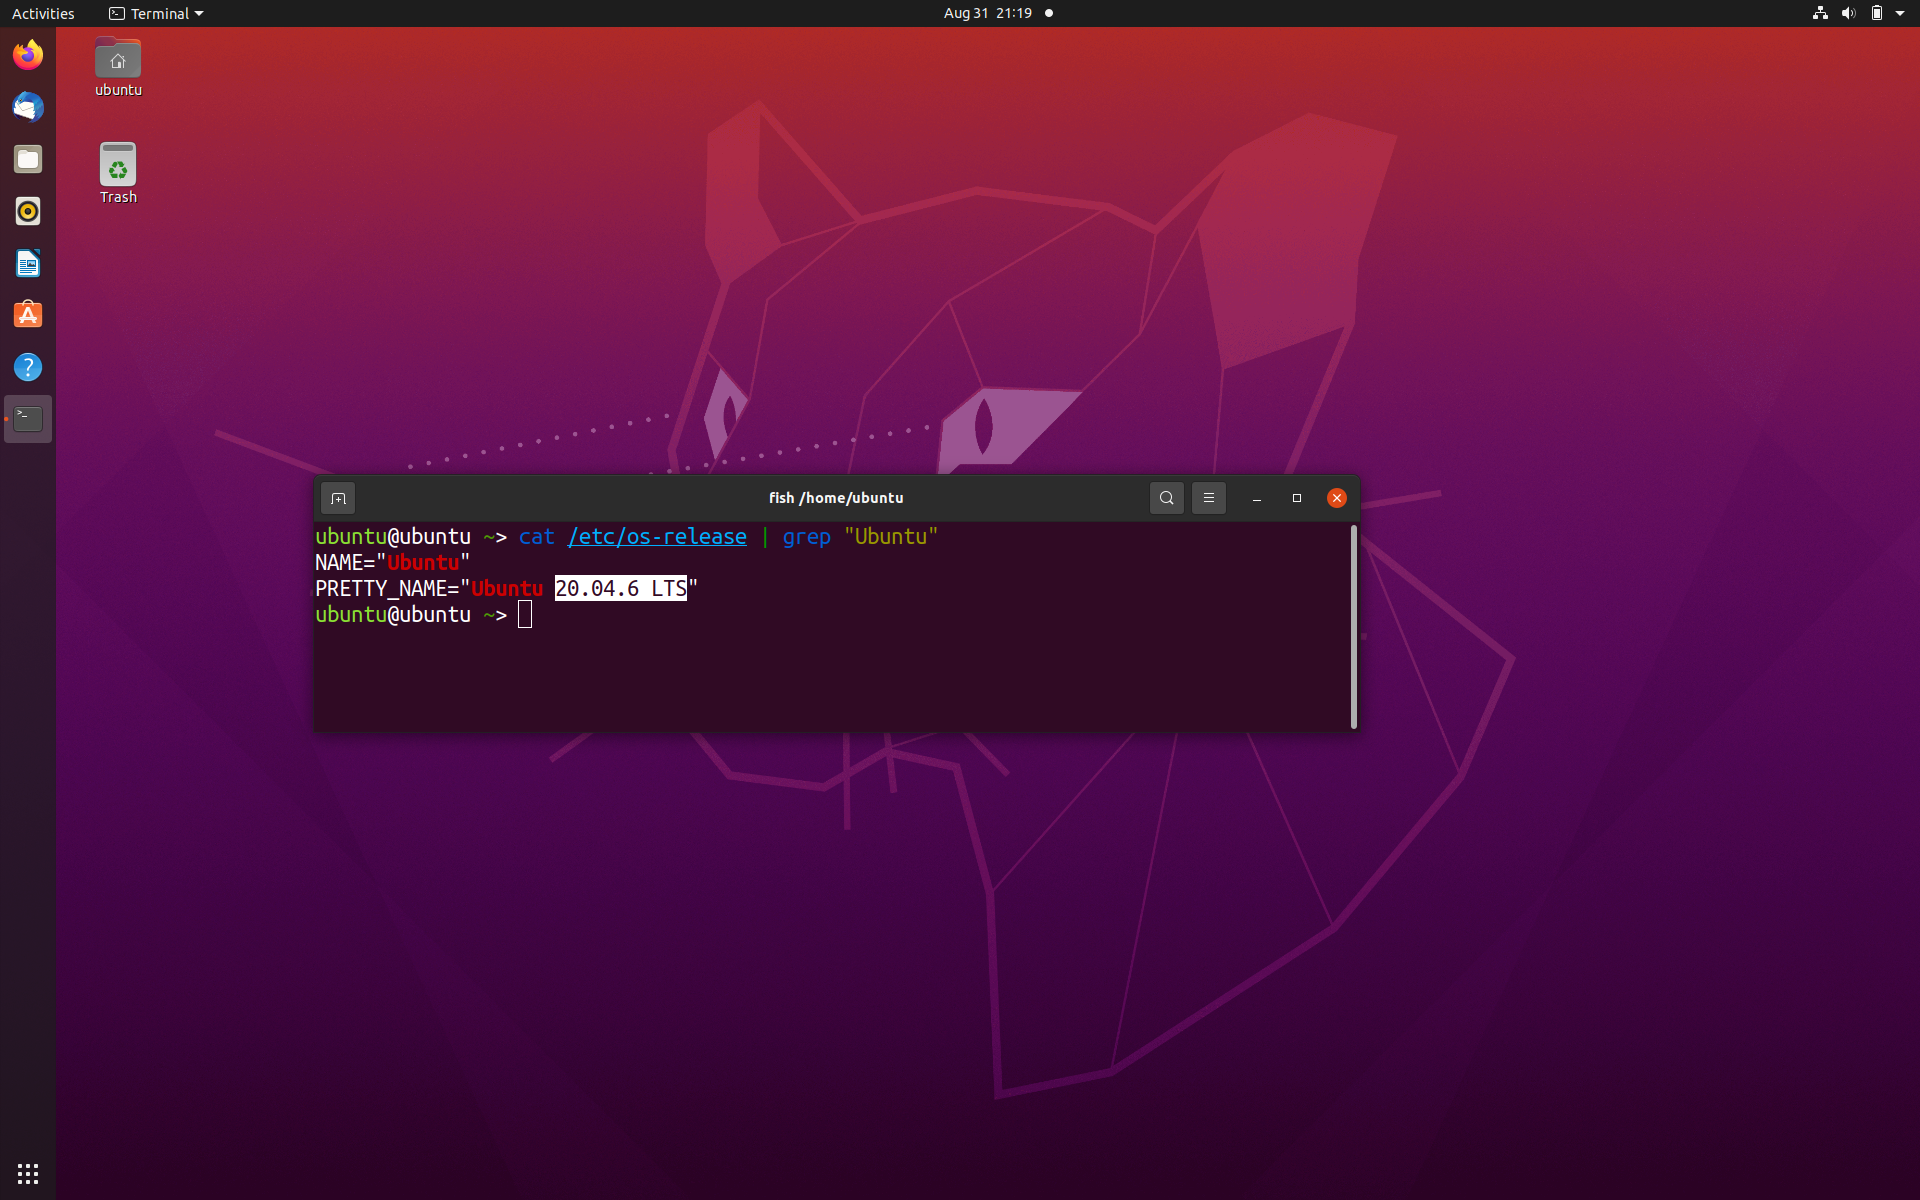
Very clear that the kernel version is very small, 5.15.0-67-generic, whereas the latest is 7.x.x thing. Usage of outdated kernels!!!
Verification and Exploitation
But I wanted to cross check the compactability of that exploit in this current victim, so small google search would help us to make sure that we choose the correct exploit. Below given is Google AI verified fact that victim’s kernel is vulnerable.
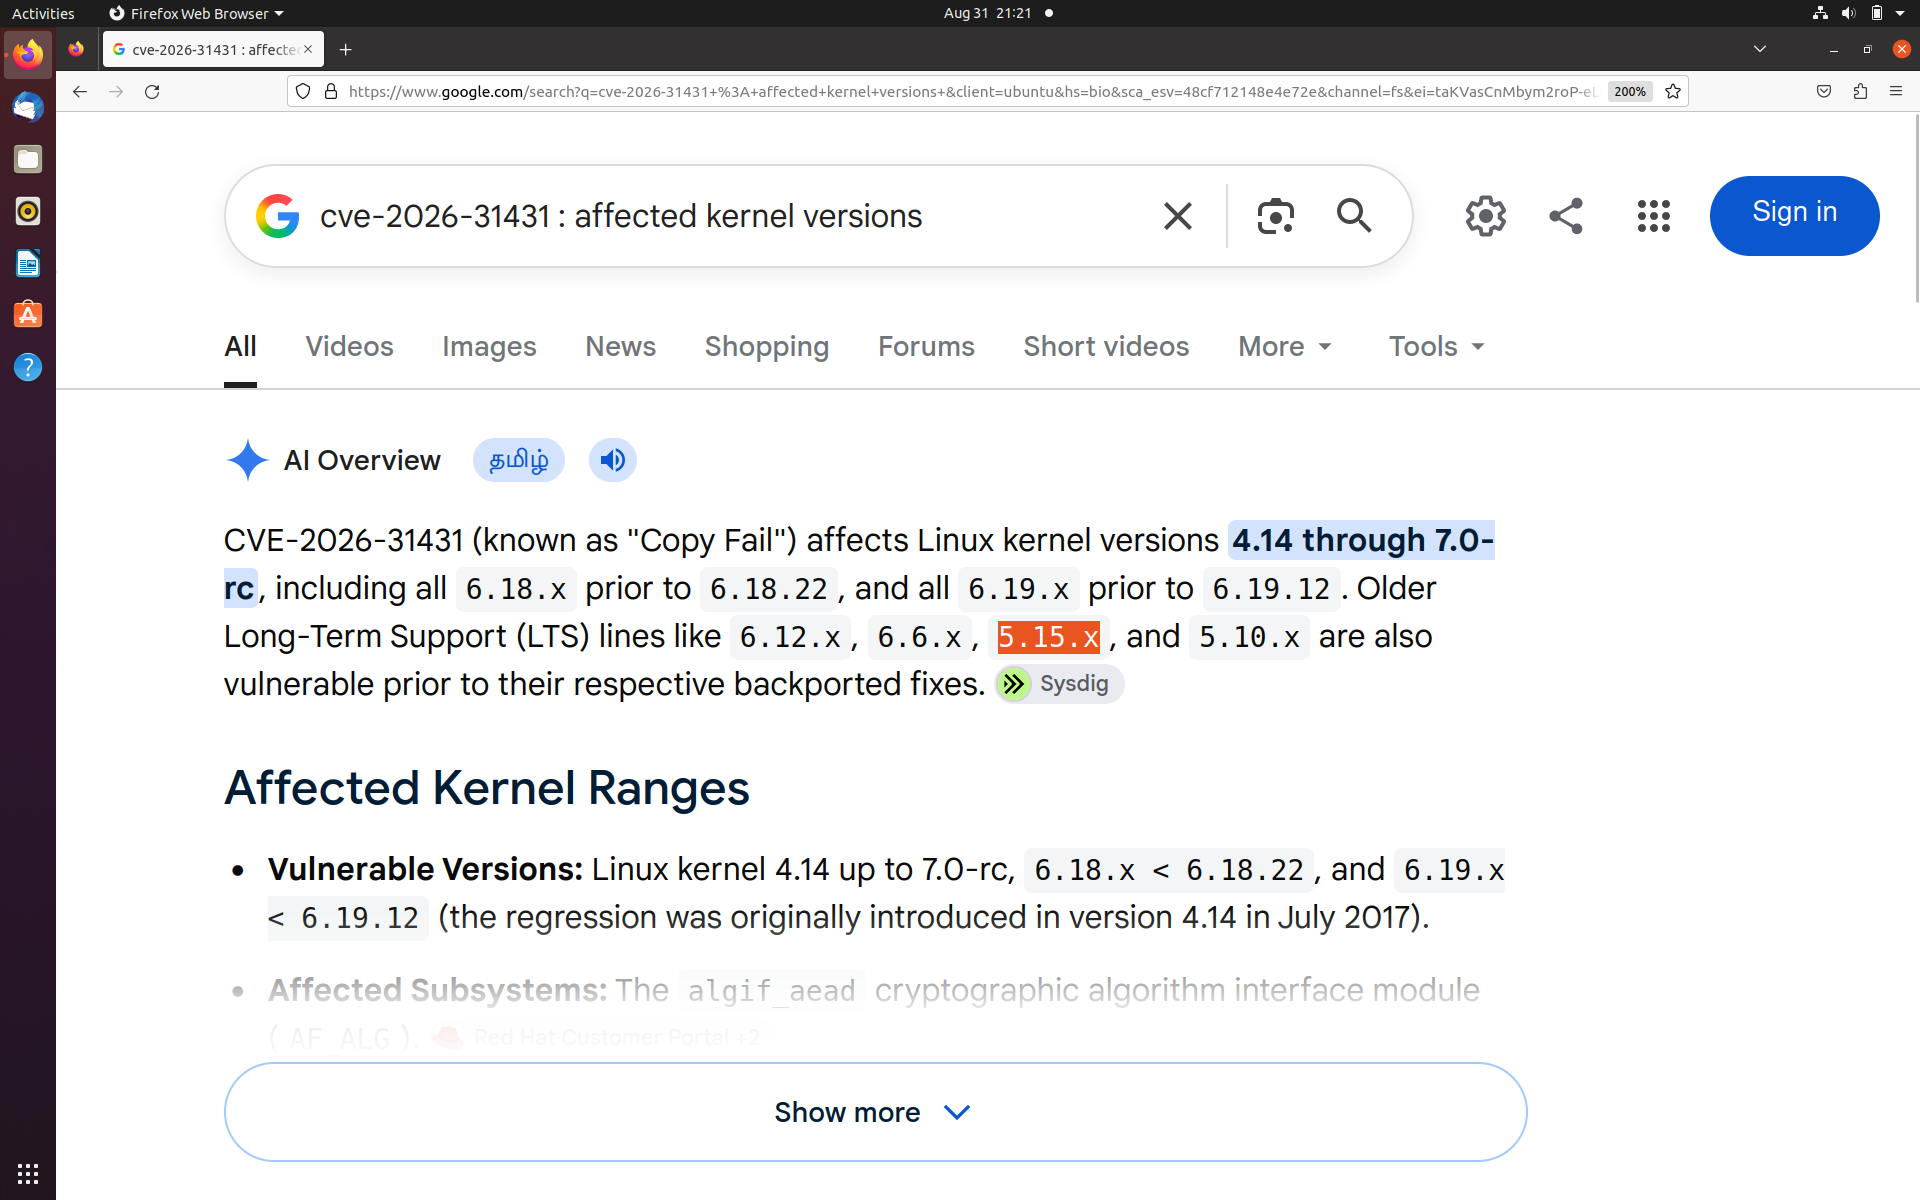
Now, we need to download the exploit. The best place to go for linux exploits and CVEs is Open Source. And that is how most of the kernel bugs are exposed and fixed in the first place, and those bugs were literally hiding there for most of these years. Next step is to check if git is available in the victim machine. Unfortunately, in my case, it was not available…
-
So, open the firefox web browser, go to web, search for
cve-2026-31431, which is the standard name for Copy Fail vulnerability. Tons of URLs will show up, use google dorking wisely to filter justgithub.comURLs. Click some random verifiable PoC, inspect the source code. In my case, I am usingCcode version of this exploit, which is originally a 732 byte file ofpython. -
Once that the code is verified, understandable and I know that it causes know threat to Availability, download the ZIP file.
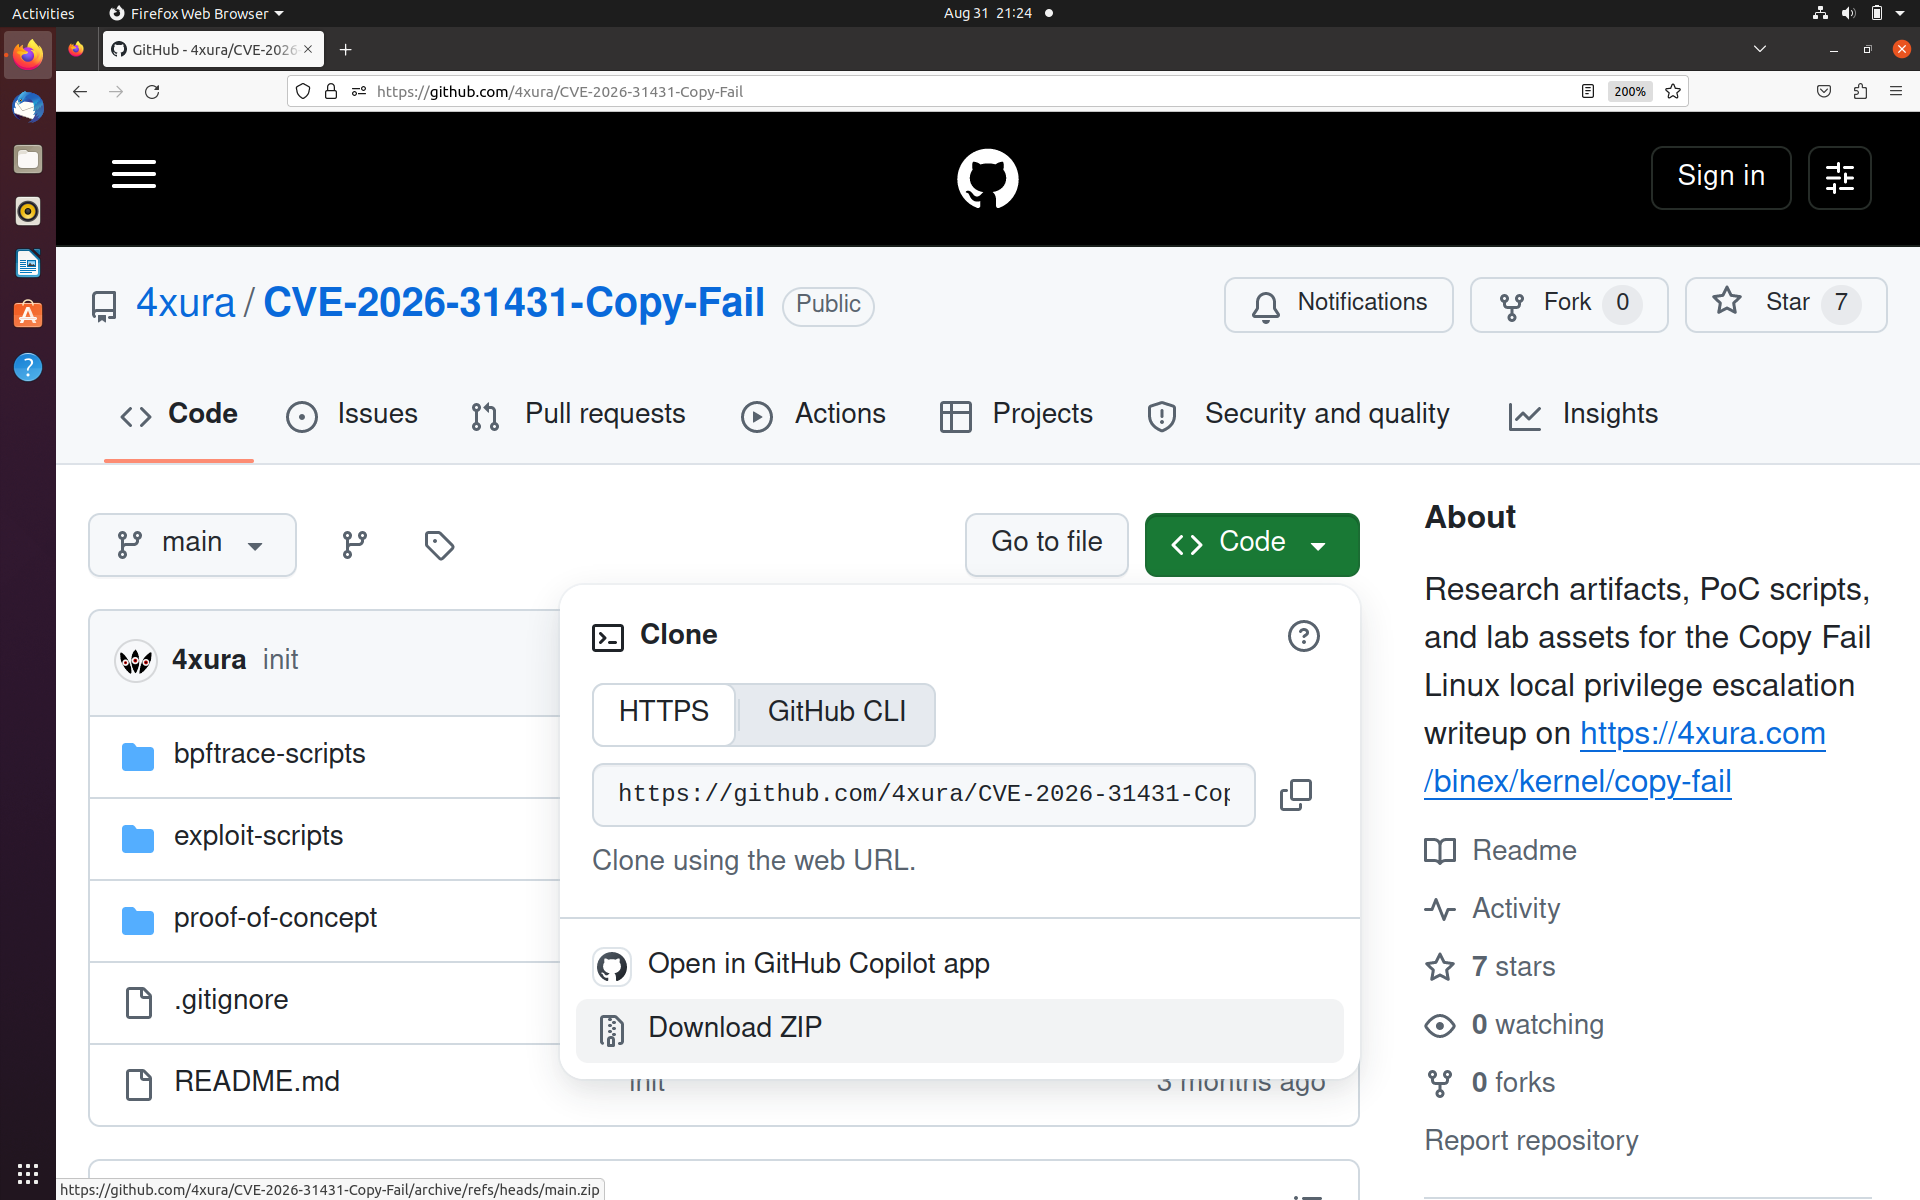
- After the zip file has completed downloading, I need to open the terminal in the Downloads folder, and then unzip the zip using the
unzipcommand - i.e, extract the contents of the zip file. Navigate to the exploits folder, where the C version of the exploit is there. Make sure that you understand the C code.
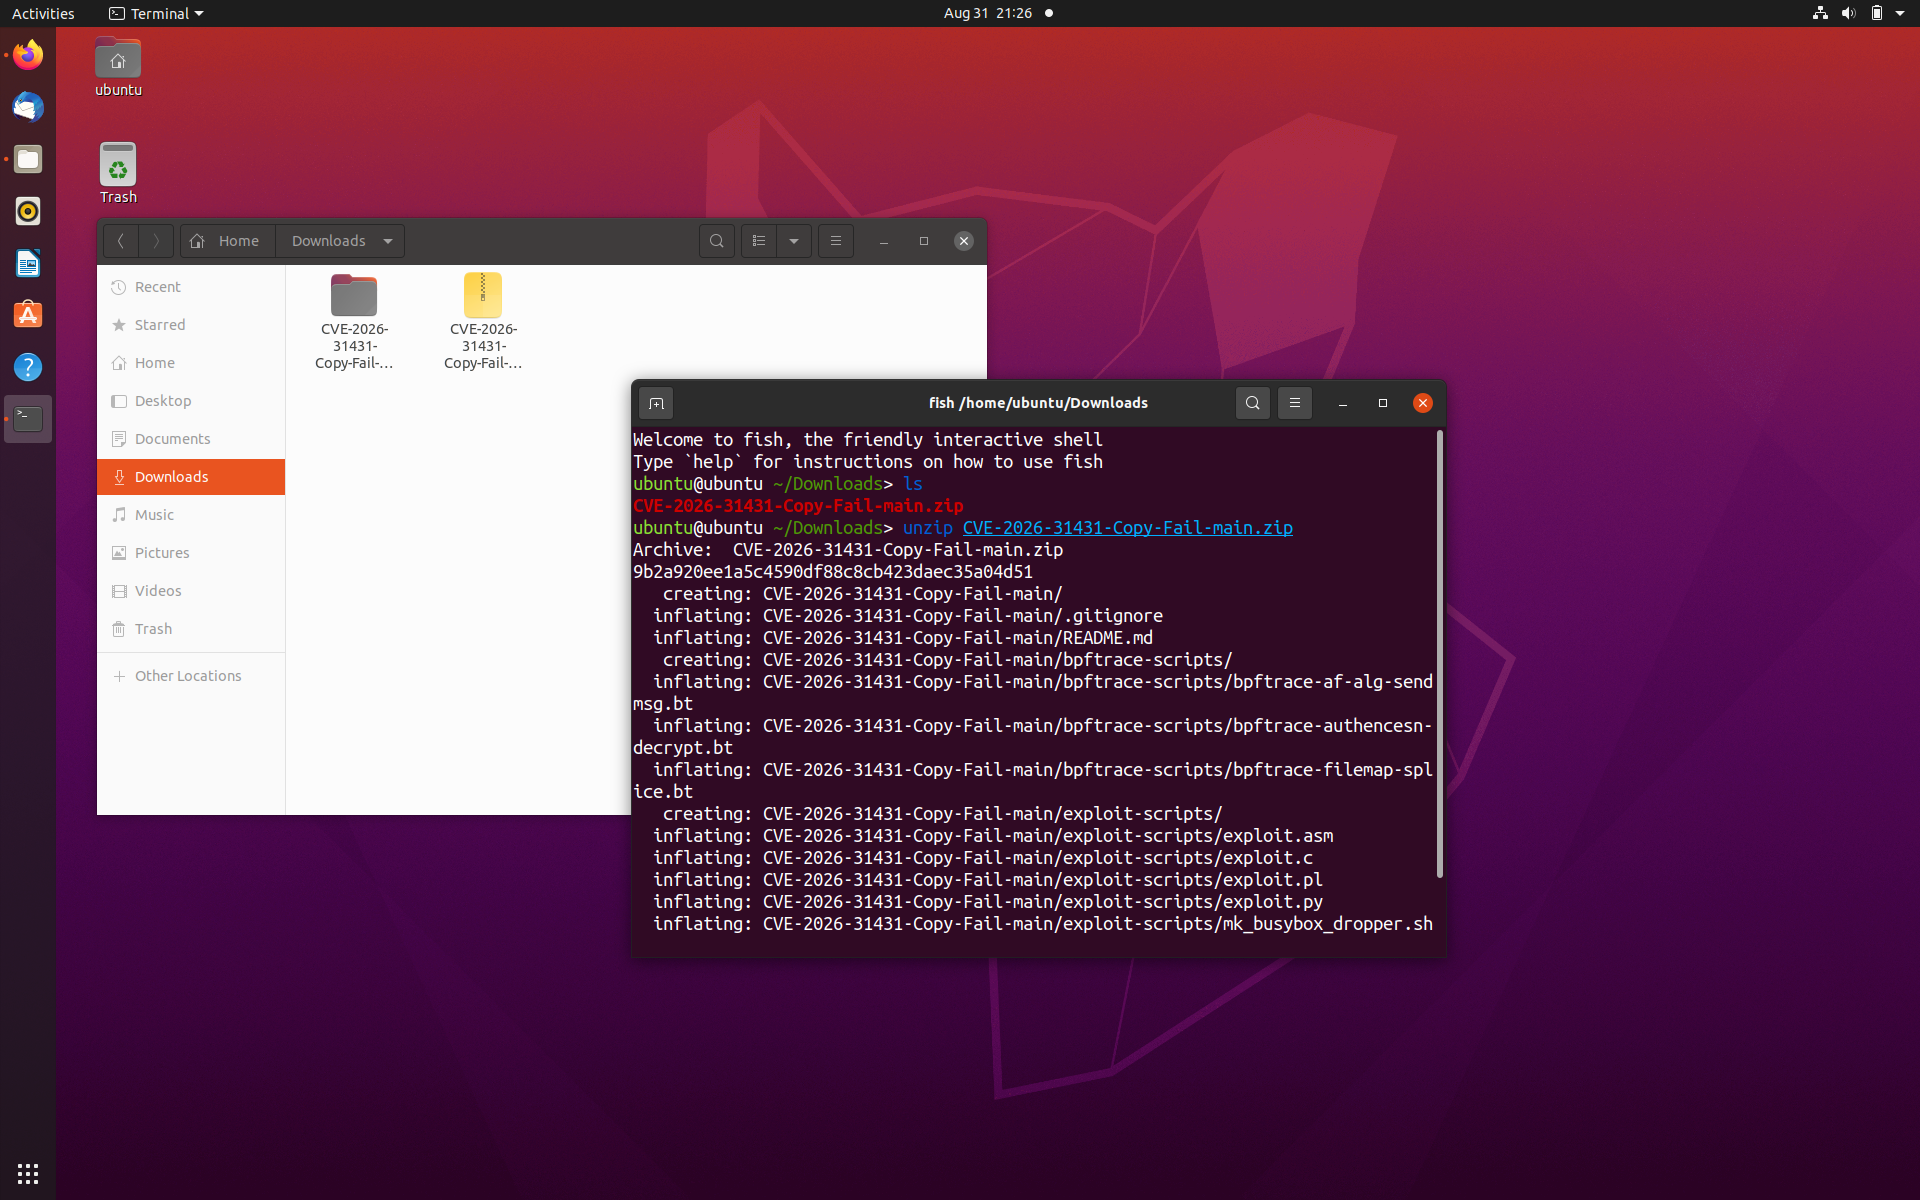
- After verifying that
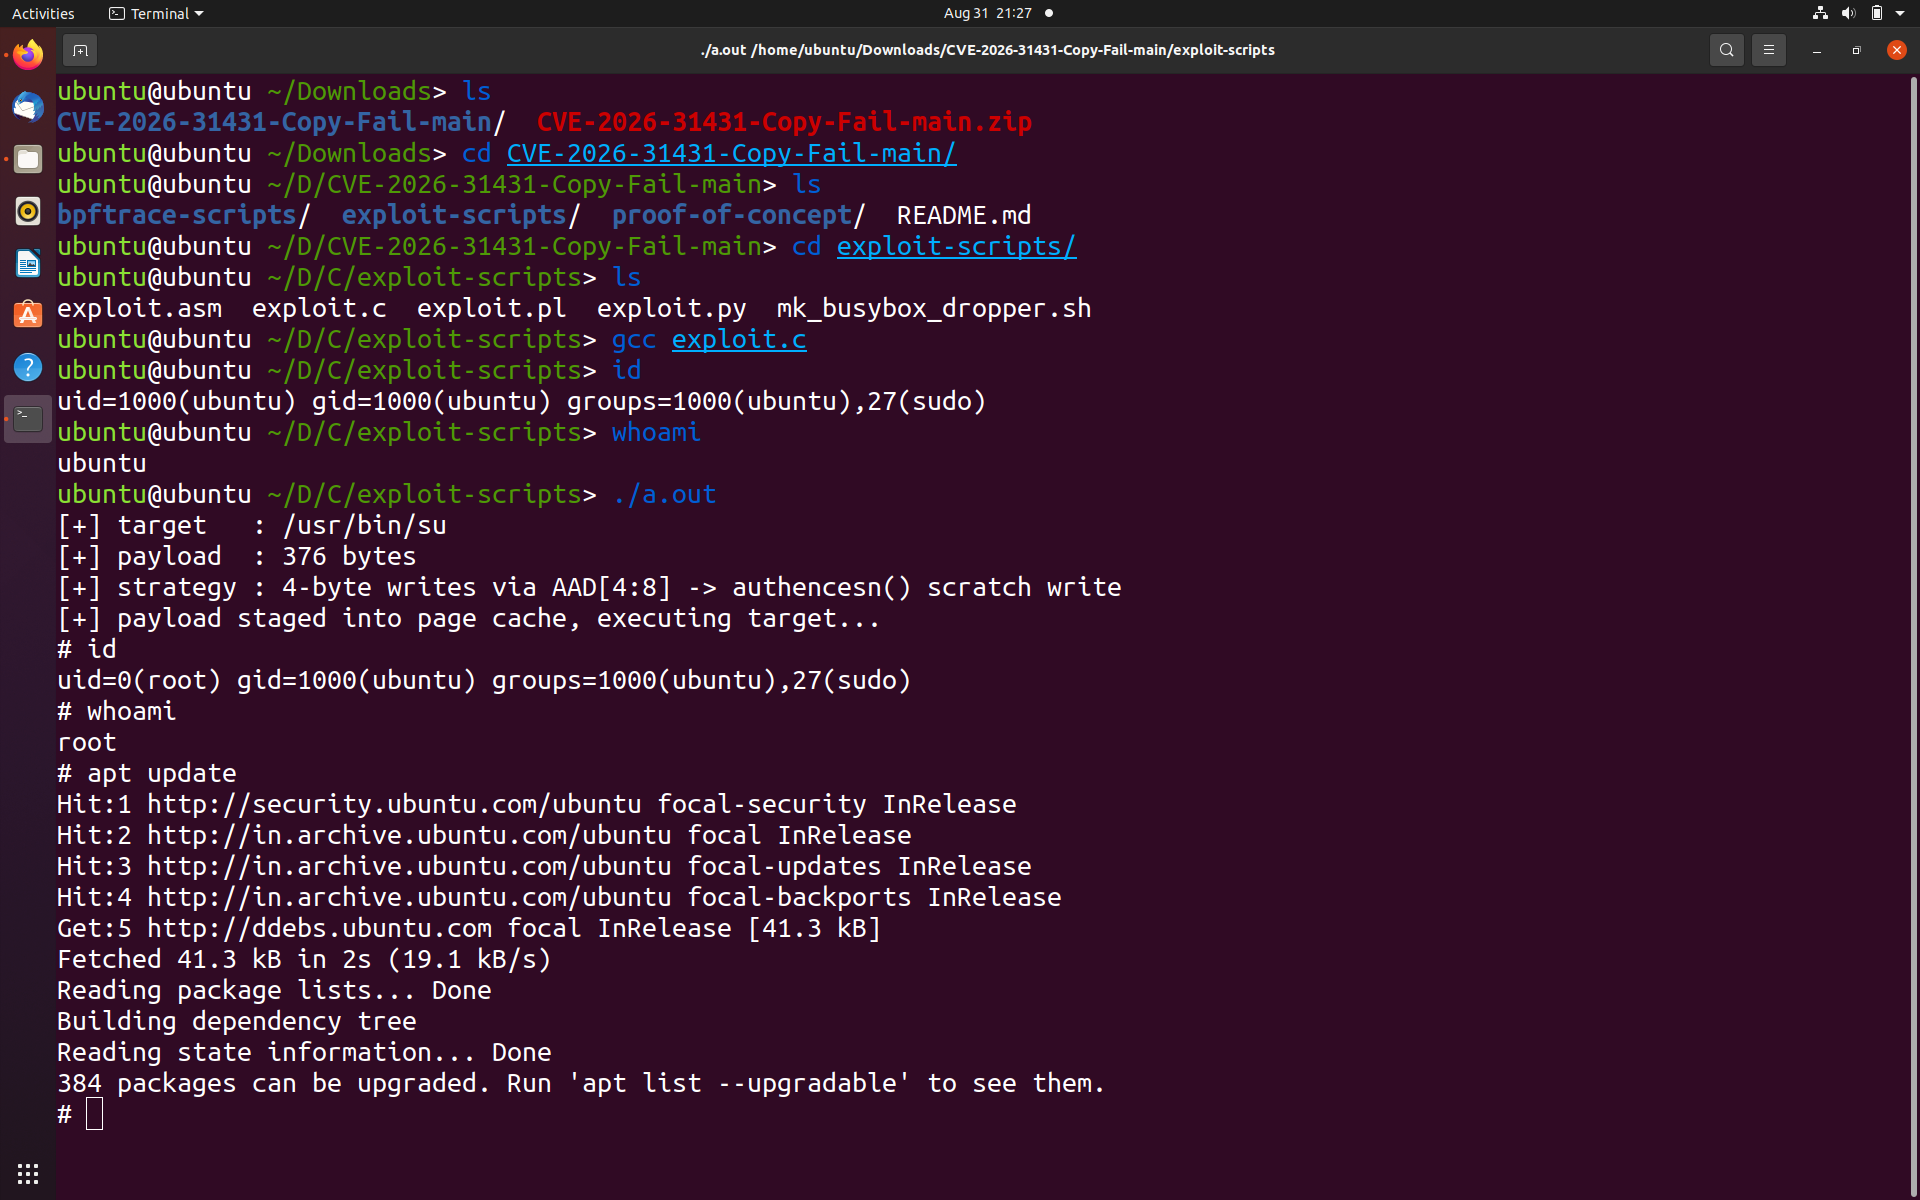
gccis there in the victim’s machine (which my lab had, so does the VM), we need to compile the binary.gccwithout any-oflag will generate the default binary file nameda.out.
gcc exploit.c
# gcc <file.c>
# a.out file is generated
- Before continuing, we must have a way to verify if the exploit actually worked. We will use the
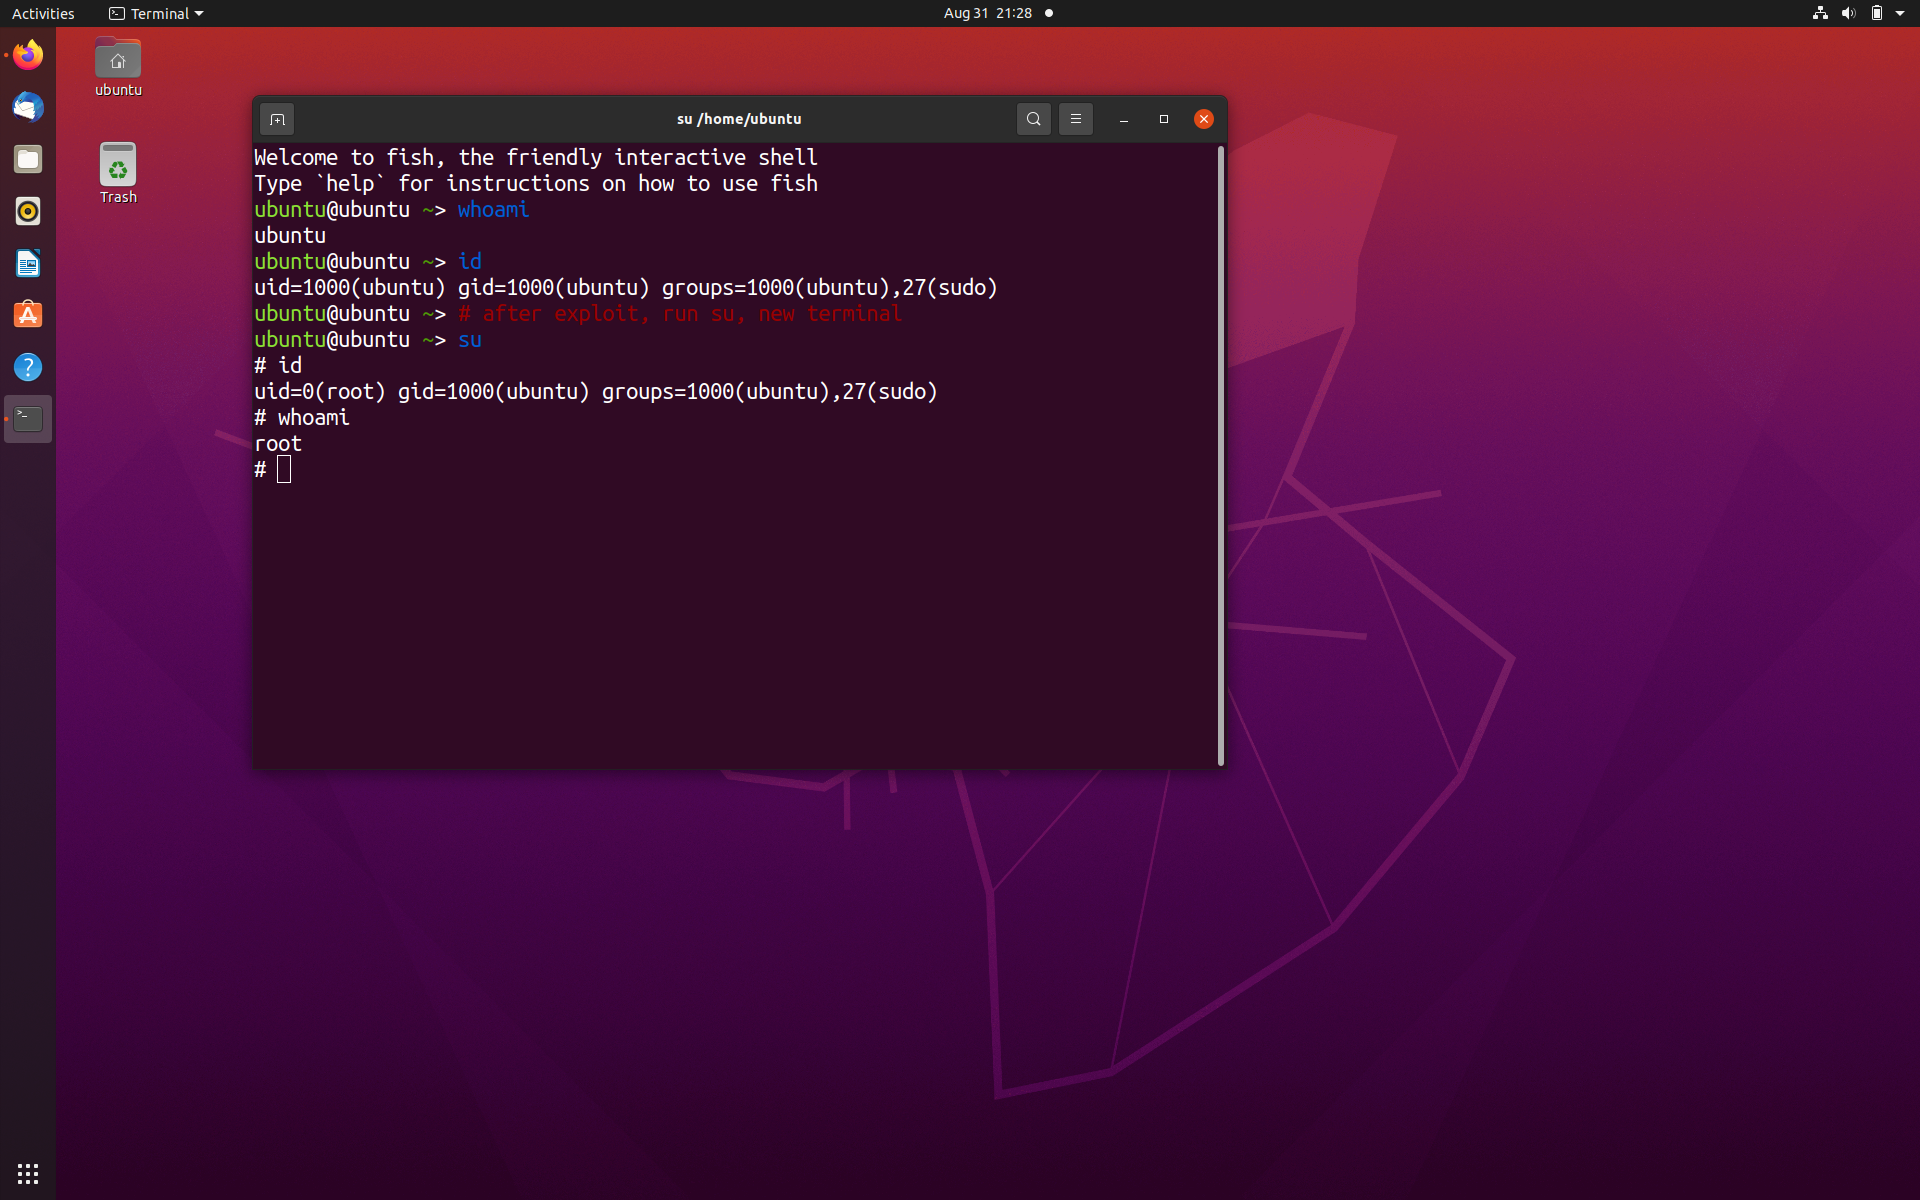
idandwhoamito verify the integrity of the current user, or if there is a switch in user, and escalation of previlleges.
# whoami will tell you the current user
whoami
# outputs your username
id
# note that the uid should be 1000.
- Proceed with exploitation, which will provide us with previllege escalation. The below given stuff in terminal is the command I type to get the exploit work.
./a.out
# yeah, that's it, the exploit will work
Now, if we use this escalated permission to tamper the current system state, then it is breach of Integrity at this point. The exploit itself is a direct bypass of Authentication and hence the Authorisation also. After escalation, I ran apt update to update the system. Though this is legit naive harmless prank, the real attackers can cause a real prankless harm by implanting a rootkit to ensure persistence, or whatever they are willing to do.
This exploit uses page cache poisoning, corrupts the page cache during a kernel authentication (cryptographic subsystem), and overwrites into the kernel page cache which is supposed to be read only memory section. This target’s a setuid bit binary such as su or sudo. I will not be going deep into the setuid bits, why they exist and stuffs. For now, this is just an exploitation of a CVE.
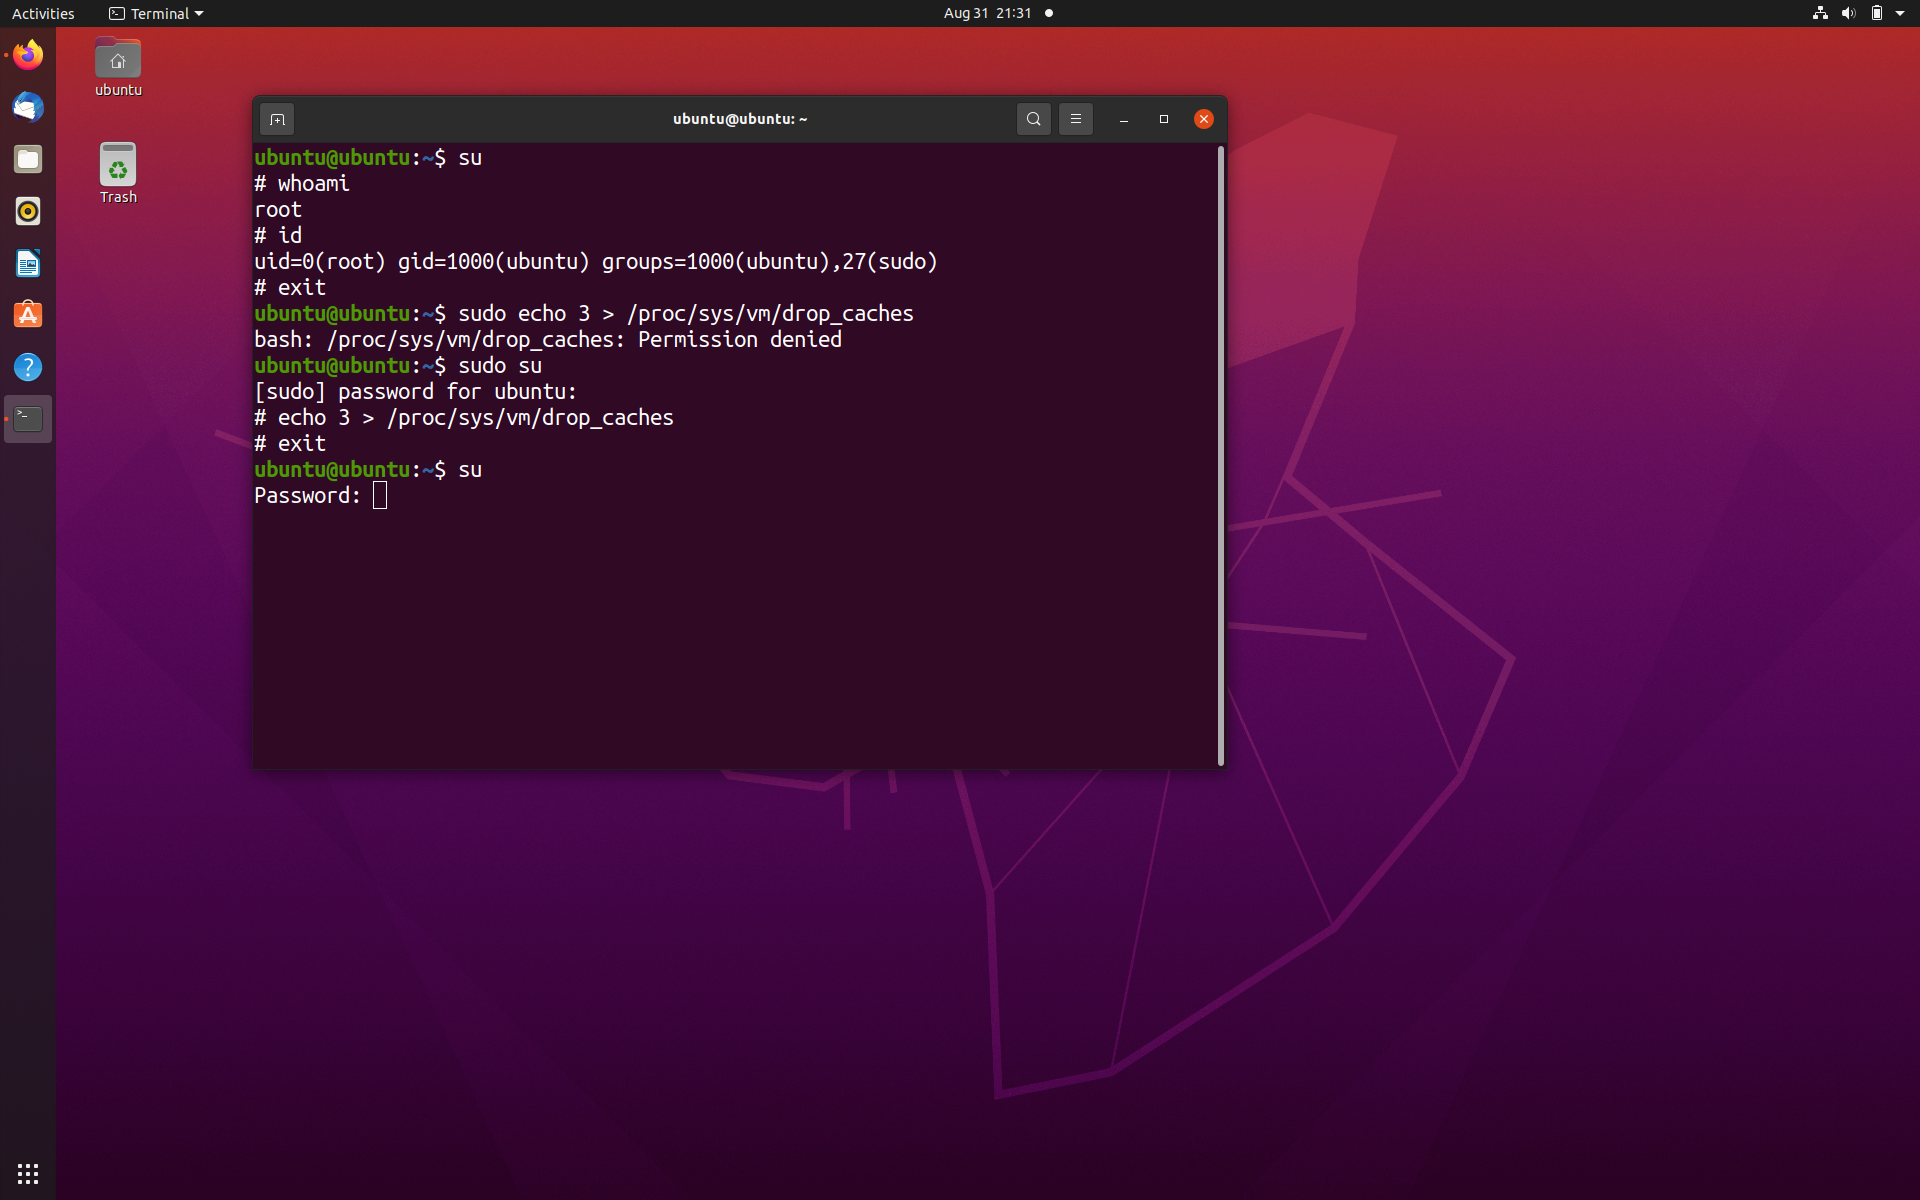
It is a cache-only exploit - meaning that this exploit is not permanent. Once the system reboots, the cache in RAM, is deleted, and new cache page is provided, as RAM is volatile memory. But we can just manually tell the kernel to drop the caches by running the following command as sudo.
echo 3 > /proc/sys/vm/drop_caches
But…
If the caches are not dropped after the exploit, then the cached binary su will still be loaded, instead of whatever is in original su, which is dis, which is disk. Therefore, just running su will escalate the previllege from user to root.
NOTE : THIS EXPLOIT IS PURELY FOR EDUCATIONAL PURPOSES.
See also
- sourceCopy Fail - C code for CVE-2026-31431
- copy.failCopy Fail - Writeup
- blogback to the log